
The last project I made for Disney was Minnie Mouse
pillowcase dresses. I have made a few and I use a pretty rough pattern that I
doubt I’d remember if I had to since it was a compilation of three different
blog tutorials. Luckily, I remembered my friend Kim’s post about all her Disney
clothes she did for her trip to Disneyland and we had even discussed that the
tutorial she used was super easy. I decided that since I was crunched for time,
I would do a very easy one.
It took me a few reads to get it, but once I did, the
dresses were super easy. I then copied Kim’s idea and added the letters to the
dresses. I just free handed the letters, the traced backwards onto the steam a
seam. Pretty simple. The only down side is the expensive Disney fabric is super
thin, but I am thinking the girls will appreciate that in the Florida heat.
Minnie Dresses:
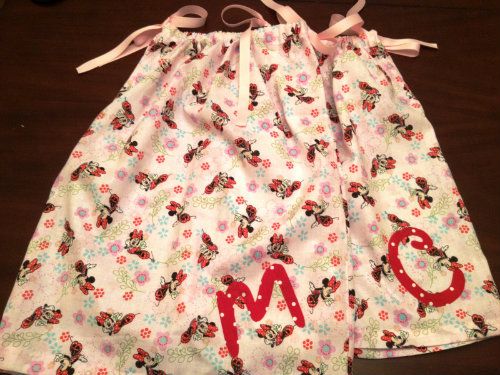

Letter up close:


